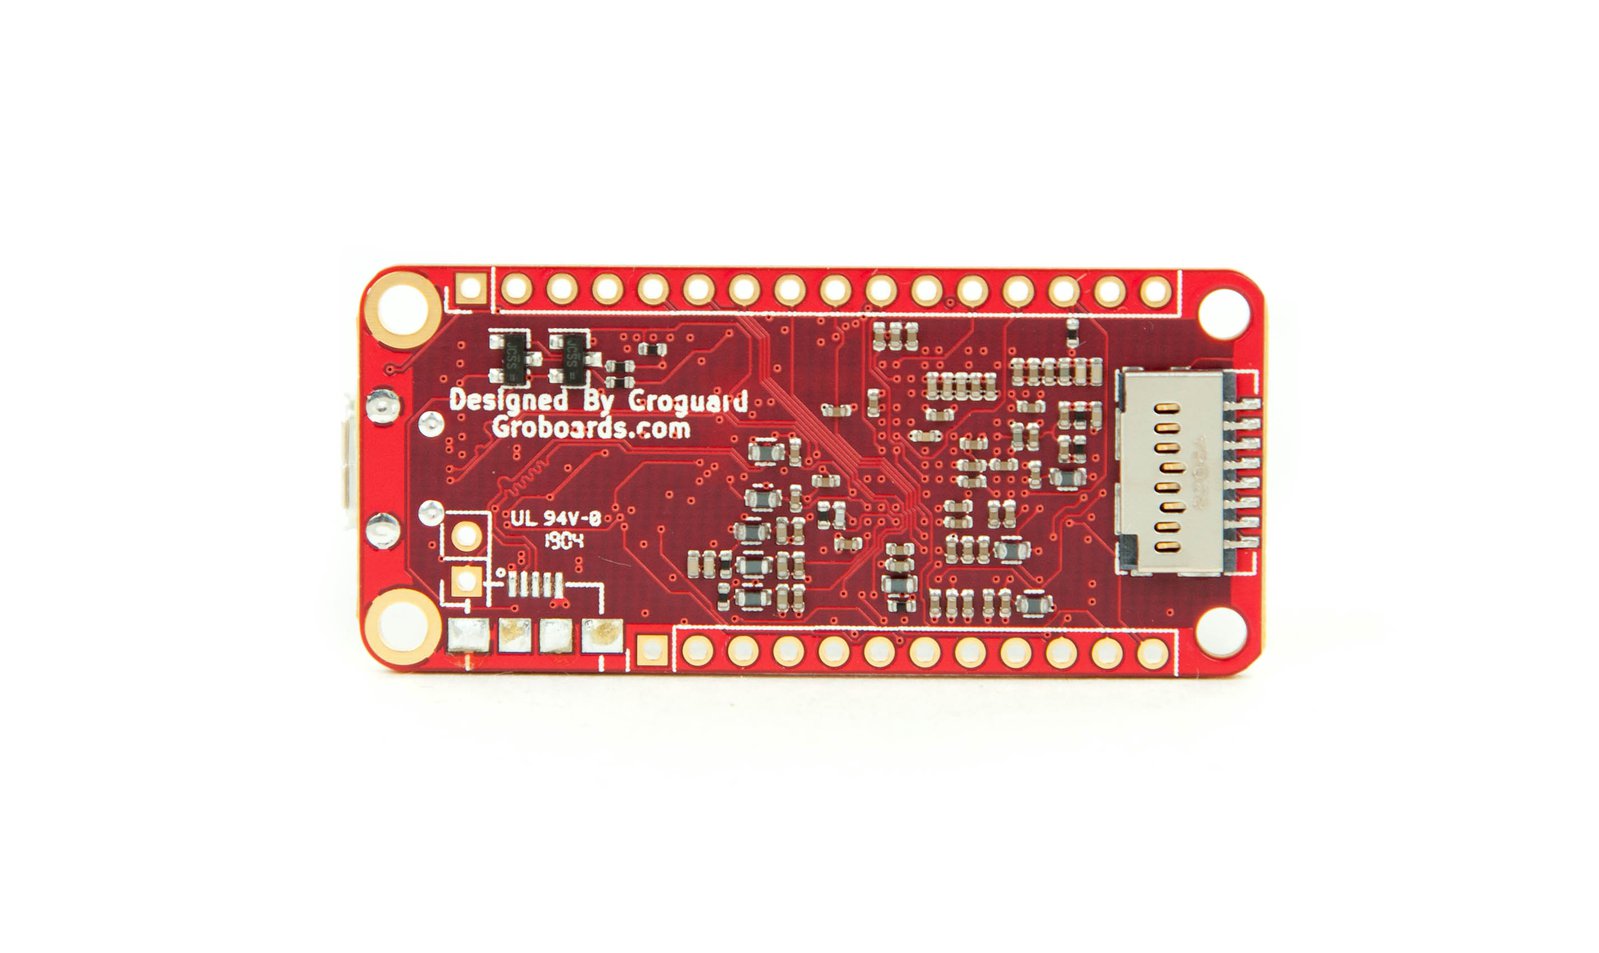
Feather M0

The Adafruit Feather M0 comes in two basic variants:
- Feather M0 Basic Proto for Arduino IDE AF Tutorial
- Feather M0 Express for CircuitPython
The hardware is the same, the difference is in they way they are pre-programmed prior to shipment.
Pins:
PWM may be used on digital pins 5, 6, 9, 10, 11, 12, and 13 and analog pins A3 & A4 provided SPI, I2C, and UART pins keep their prototcol functions. A5 cannot do PWM.
Upload Troubleshooting
Sometimes when uploading from the Arduino IDE it suddenly never finishes uploading, or you experience a timeout.
- Turn on the Arduino IDE compile verbose output (see image below)
- During the IDE upload, when you see the message Forcing reset using 1200bps open/close on port COM3, press the reset button twice on the Feather M0 to put it into bootloading mode.
Digital Output
Note that digital output should be limited to 7 mA per pin If you are accustomed to putting a LED on a Arduino pin with a 220/330 ohm resistor, don't do that with a Feather! 3.3V & 330 ohms = 10 mA. 3.3V & 470 ohms = 7.0 mA 3.3V & 680 ohms = 4.9 mA 3.3V & 1000 ohms = 3.3 mA.
Analog Output (DAC)
setup() {
  pinMode(A0, OUTPUT);
  analogWrite(A0, 0);
}

loop() {
  double mV = 2134.1;
  // Convert volage mV value for 0 to 3300 mV range
  // into a DAC value (10 bit DAC = 2^10 = 1024)
  int DAC = ceil(mV*1024.0/3300.0);
  analogWrite(A0, DAC);
}
Not all format codes are supported by sprintf for float to string conversions. Use the function dtostrf() below.
dtostrf() for M0
/*
  dtostrf - Emulation for dtostrf function from avr-libc
  Copyright (c) 2015 Arduino LLC.  All rights reserved.
  This library is free software; you can redistribute it and/or
  modify it under the terms of the GNU Lesser General Public
  License as published by the Free Software Foundation; either
  version 2.1 of the License, or (at your option) any later version.
  This library is distributed in the hope that it will be useful,
  but WITHOUT ANY WARRANTY; without even the implied warranty of
  MERCHANTABILITY or FITNESS FOR A PARTICULAR PURPOSE.  See the GNU
  Lesser General Public License for more details.
  You should have received a copy of the GNU Lesser General Public
  License along with this library; if not, write to the Free Software
  Foundation, Inc., 51 Franklin St, Fifth Floor, Boston, MA  02110-1301  USA
*/
// https://github.com/arduino/ArduinoCore-samd/blob/master/cores/arduino/avr/dtostrf.c

/*
char buff[14];
float f = -3.1415926;
Serial.print("f = ");Serial.println(f, 6);
sprintf(buff, "%E", f);
Serial.print("buff = '"); Serial.print(buff); Serial.println("'");
*/

char *dtostrf (double val, signed char width, unsigned char prec, char *sout) {
  asm(".global _printf_float");
  char fmt[20];
  sprintf(fmt, "%%%d.%df", width, prec);
  sprintf(sout, fmt, val);
  return sout;
} // dtostrf()
You may need this function to convert integer to byte array
void WriteIntToByteArr(byte *arr, int len, int &iVal) {
  // Works on Feather M0 (ATSAMD21 Cortex M0)
  // WARNING: Value of iVal may change due to sprintf()

  for (int i=0; i<len; i++) {
    arr[i] = 0x20;  // space character
  }

  // ITOA() converts int to string
  //itoa(iVal, cInt, 10);

  char cInt[len-1];
  sprintf(cInt, "%1u", iVal);

  for (int i=0; i<strlen(cInt); i++) {
    arr[i] = cInt[i];
  }
  arr[len] = 0x00; // null character
} // WriteIntToByteArr()
Ardunio IDE Settings
Do you need help developing or customizing a IoT product for your needs? Send me an email requesting a free one hour phone / web share consultation.
The information presented on this website is for the author's use only. Use of this information by anyone other than the author is offered as guidelines and non-professional advice only. No liability is assumed by the author or this web site.
.png)
.png)
.png)
.png)


.png)


